

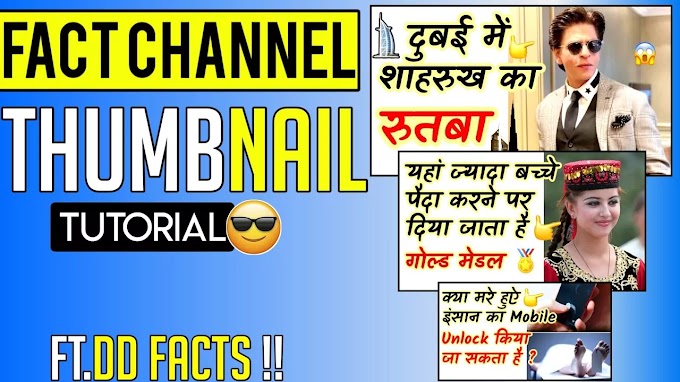
How To Make Facts Thumbnail Like DD Facts
Thumbnail helps a lot in increasing youtube Click & views. What if you can make thumbnail like DD Facts. Yes, friends, in today's post we will learn to make thumbnail like DD Facts.

Yes guys fact channel thumbnail, so look i will show you in this post, I am going to tell about the thumbainl given below.
Here you are going to get thumbnail related to only DD Facts. Anyway if you also want to make a fact channel like him a thumbnail then So you need three things for this. But yes Don't kill the whole copy for this you own something Make sure to use Creativity.
What is necessary to make thumbnail of dd facts
1. Font
2. Emoji
3. Photo
Note: Use photos related to your topic.
1. Font: Guys you need a good font to make thumbnail. You can download it by clicking on the given link.
2. Emoji: In the thumbnail of DD Facts , you must have seen that emoji are used in most of the thumbnails, for that you will also need emoji. Click on download emoji now to download the emoji.
3. Photo: You give complete information about your YouTube video to the viewer through your thumbnail. By which they click on your video, in such a situation, the use photo in that thumbnail has a big contribution.
That's why it is important that you keep your photo strong so that the viewer clicks more on your video, so that you get a lot of views.
what is the step to make dd facts
Guys here are the steps to make thumbnail like dd facts, in which you have been explained through writing and images. To make thumbnail of DD Facts, you have to follow these two steps.
1. Download And Extract Fonts
2. Use Pixallab
1. How To Download And Extract Fonts:
To make thumbnail like DD Facts, you have to download and extract the fonts, which has been told to you here that how you can download and extract the fonts.
1. First of all download the font. Which is mentioned in the image below. When you click on the link, you will see a user interface like this. You click on Download.


2. Use Pixallab: To Make Thumbnail Like DD Facts
How you can make thumbnail like DD facts channel using pixallab, its complete information has been given to you here in written and image format.
By seeing and reading which you can make thumbnail for yourself like dd facts. So let's see how you can also make thumbnail. Here you follow the given every single steps.
1. First of all you open pixellab. If you do not have pixallab then you can download it from play store.
2. After opening Pixallab, you will see A in the bottom side of Pixallab, you have to click on it.

3. When you click on A, you will see three dot at the top, click on it.

4. When you click on Three Dot, you will get many options. You have to click on Image Size.

5. As soon as you click on Image Size, you will see a custom interface.

6. On this custom interface, you have to click on Youtube Thumbnail.

7. Here you will see the size of Youtube Thumbnail.

8. Now you have to click on the fourth number icon as shown in image.

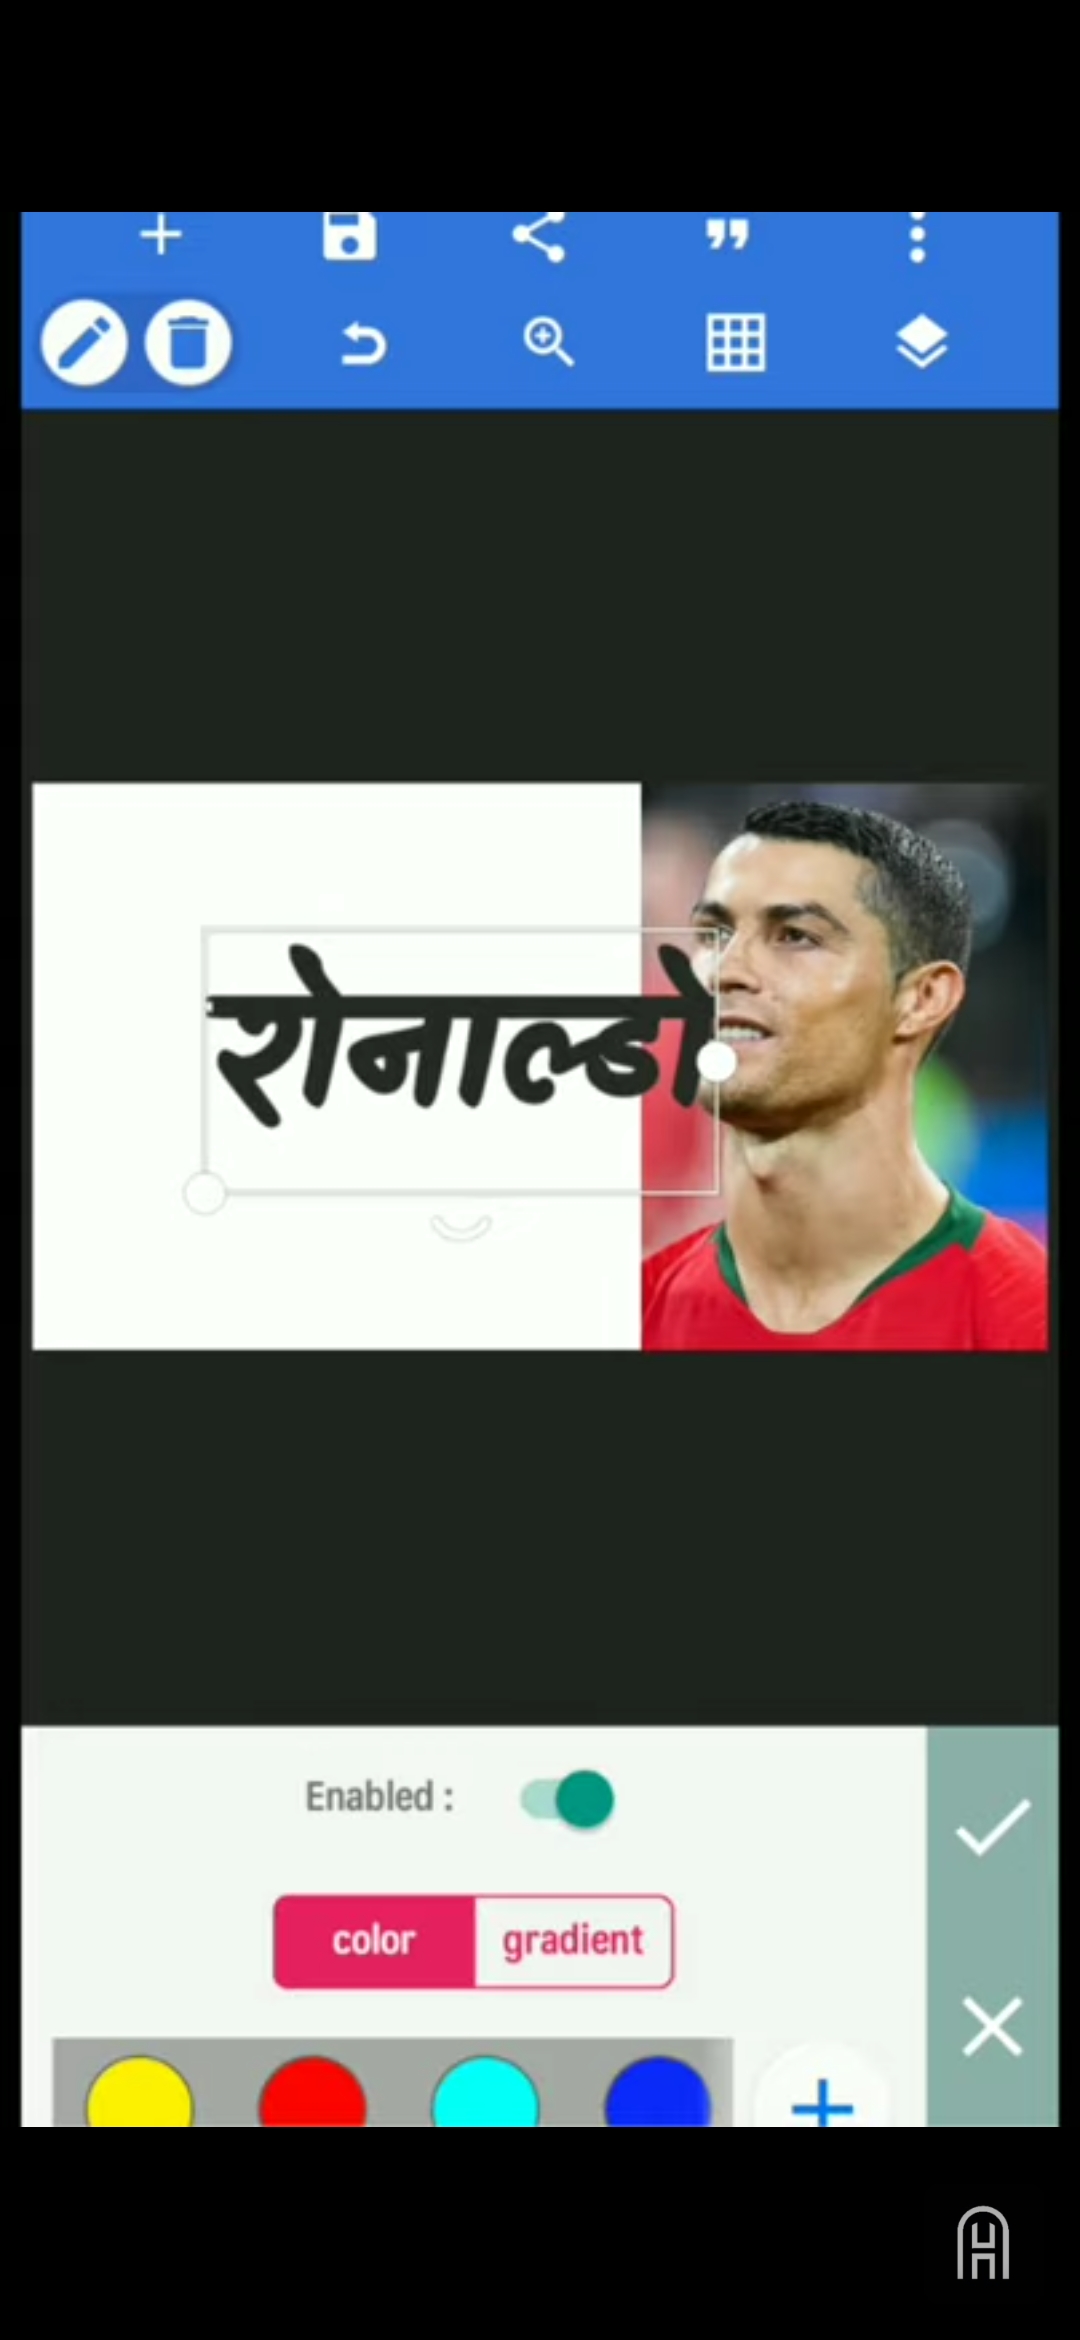
9. After this you will click on the color icon.

10. As soon as you click on color, you see two options here. Color aur gradient Out of these, you click on the color.

11. Here you select the white color.

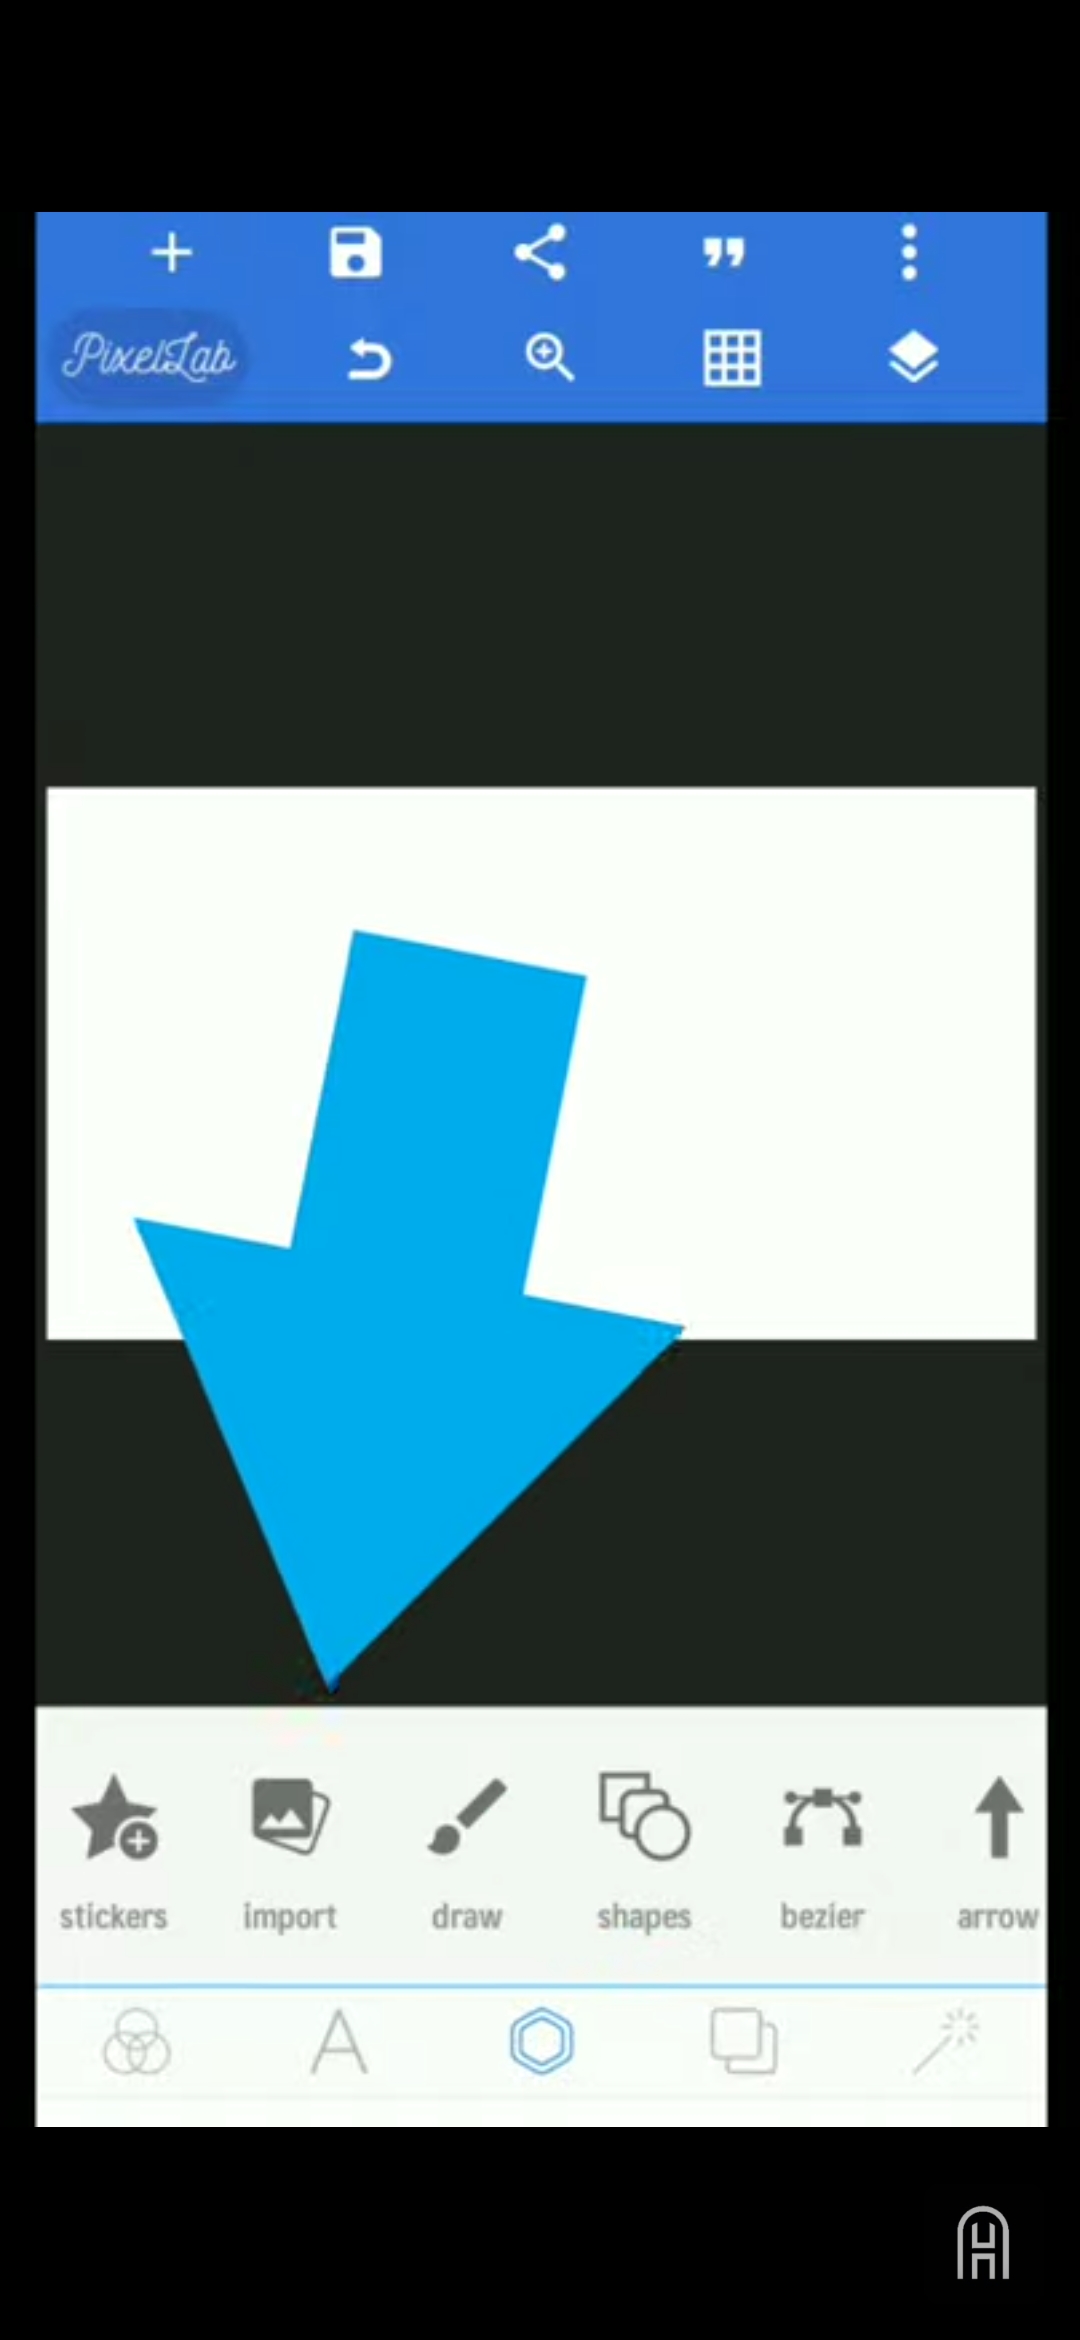
12. Now here you click on the third number icon as shown in the image.

13. Here you click on the Import icon.
14. From whichever topic you want the image related to, you select it here.

15. Now if you want to crop the selected image, then you can crop it.

16. After cropping the photo, you can apply it as shown in the image.

17. Then you have to lock this image. Click on the layer section to lock it. As shown to you in the image.

18. Here you lock the photo by clicking on the lock button. Due to this you will not move the photo. Stable at one place.

19. You click on A as shown in the image.

20. Then after this you click on the text button as shown in the image.

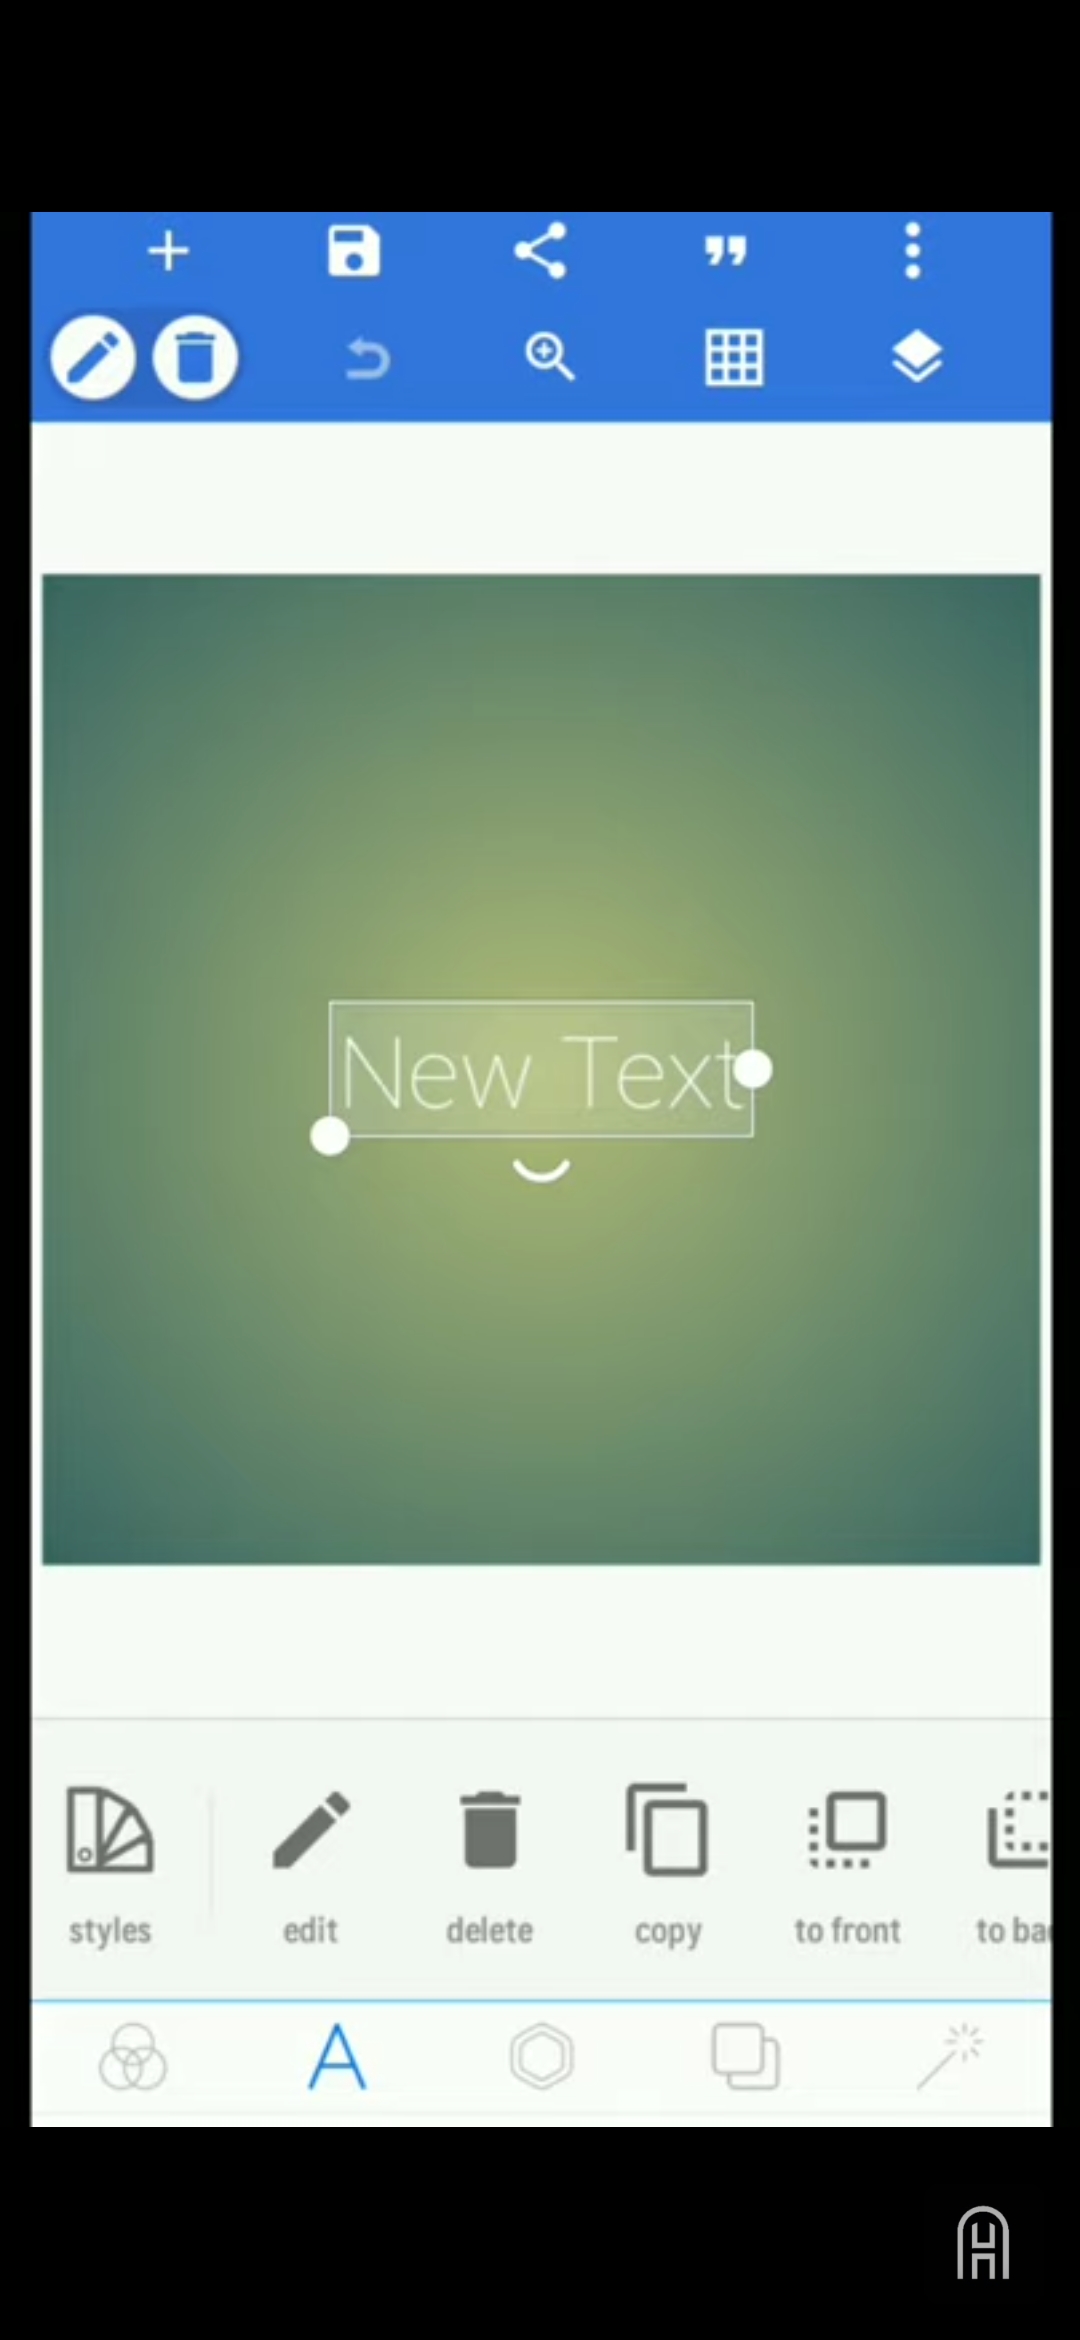
21. After clicking on the Text button, you will see New Text.

22. Pencil icon on which edit is written. Click on it so you can edit your text.

23. As soon as you click on edit, you will see that new text will appear here as well. Where you can type words related to your topic. Like I type Ronaldo.


28. As soon as you click on the text, you will reach the storage folder. Here you will see the font folder. Click on it.

29. Here you will see a folder named KALAM. Click on it.

30. Here you will see three files, you have to click on kalam bold.

31. If you wish, kalam lite, kalam bold, kalam Regular You can click on .

32. After that click on add selected.

33. Here you will see your font "KALAM BOLD" in my font.

34. Now you click on ok.

35. Here your written text will appear in Ronaldo Kalam bold. Now you have to color on it. For this, you have to click on the color section as shown in the photo.

36. Now you choose your color as we have chosen black color.

37. To stroke Ronaldo text, you click on stroke. As shown in the photo.

38. Here you will see many colors. You can choose any color according to your mind.
39. As we have chosen to stroke the yellow color.

40. In this photo you will see that the stroke we have given is looking very nice in yellow color.

41. If you want, you can click on the text (+) to take another text.

42. In my case I will copy. You can also copy if you want.

43. As soon as we click on the copy section, our text gets copied in exactly the same format.

44. To edit this text, we click on the pencil icon.

45. After clicking on the Edit section, you will see something like it is seen in the photo. To delete the previous text, you click on the delete icon

46. When you click on the delete icon, your text is deleted. After that you can type any text. Like we have written the text related to the topic.

47. Again in the same way if you are finding your text less then you. Then you can use the same format. Like we need another text in the same stroke and color. Then click on copy.

48. Here a new text comes with the same text in the same stroke and color. Then by clicking on the pencil icon again, we edit the text.

49. Here we type the text related to our topic.

50. Then adjust it well so that it looks good.

51. After this, if you want to color any text separately, then you click on the color as shown in the photo.

52. Select any text you want to give a different color here. As shown in the photo.

53. Now you can see that the color of your text has been changed.

54. Now it comes to putting emoji in it.

55. To apply emoji, you have to click on the third number icon shown in the photo.


57. Here select the emoji photo. as per your requirement.

58. Thumbnail looks like this after applying emoji

59. Now your thumbnail is ready. Now it's time to save it. To save the thumbnail, click on "save as image" as shown in the photo.

60. Choose your format here, which format of thumbnail you want. In my case I will save in "jpj".

61. Here you select the Diamention of your Thumbnail.

62. Now click on "Very High" in you diamention.

63. Now you click on "save to gallary"


please don't span in comments